DIY guides and advice
Give your home an upgrade with helpful step-by-steps and the tools to achieve it.
Give your home an upgrade with helpful step-by-steps and the tools to achieve it.
&poi={$this.metadata.pointOfInterest.x},{$this.metadata.pointOfInterest.y},{$this.metadata.pointOfInterest.w},{$this.metadata.pointOfInterest.h}&scaleFit={($this.metadata.pointOfInterest.x>0)?$sfpoi:$sfcenter}&sm=aspect&aspect=3:2&sfcenter=center&sfpoi=poi&qlt=50&fmt=auto&noiser=0&fmt.jpeg.interlaced=true&fmt.jp2.qlt=40&)
Are you a DIY newbie? Fear not, we've collected all of our best guides and ideas for creating a home you'll be proud of, from simply putting up a shelf to giving your walls and furniture a total makeover.
Give your home the refresh it deserves with our huge range of DIY products from big brands. Find everything you need to take on your new project - whether that's finally putting up those shelves, giving a room a new lease of life or creating your own garden sanctuary.

Need a drill? Check out our guide. From power to portability, we've got you covered. Whether you're a seasoned pro or just getting started, find the perfect tool for your next project.
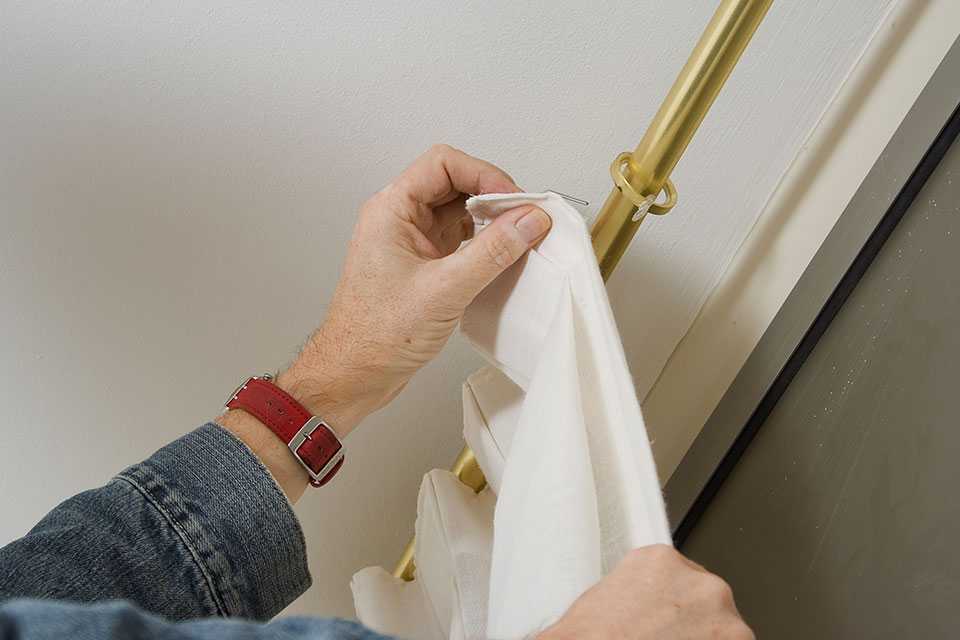
Ready to add some flair to your windows? Here's our step-by-step guide to help you put up a curtain pole. Find all the tips, tricks and helpful tools you need.

Rolled up your sleeves to tackle the next DIY project? But first, find all you need to upgrade your toolkit. From electric screwdrivers to saws to sanders and planers - browse our range to power through the job.

Make light work of your DIY projects with the right tool set. Whether you want to hang a painting or fix that wobbly chair, keep all the tools you need at the ready.

Elevate your DIY game, literally. For tasks involving out-of-reach areas, find a sturdy and stable ladder or step stool to get the work done with ease.

Execute to perfection. From hanging pictures to renovating your home, find reliable instruments to take the guesswork out of measurements and achieve accurate results.

No more digging around for that elusive screw. Get your kits and tools in line by storing them right so they're safe and easy to access. How about a tool box on wheels to start with?
A lick of paint can transform a room in an instant. Not sure where to start? From prepping to painting, here's some helpful how-tos to get you started.
Before you start anything, it’s a good idea to prepare your walls as any holes, bumps or uneven surfaces can affect your final finish. Take some time with these first steps…
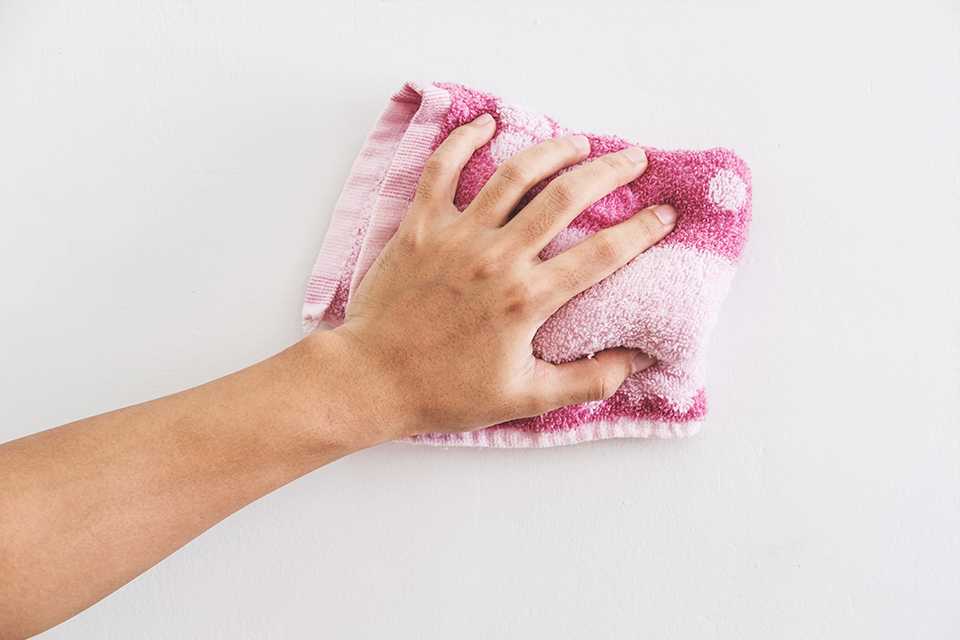
With a sponge and soapy water, remove any dust, dirt or marks. They can affect the quality of your paint and leave stains that could show through

A steamer or scraper will make it easier to remove old wallpaper, or flaky paint that’s too thick or too bright to paint straight over.

An even surface is the perfect canvas for painting. Use enough filler to fill any holes or cracks until they’re level with the wall. Then sand down any rough areas.

Clean up any damp or mould before you start. Then opt for specially created paint as a basecoat – this’ll help prevent the causes of damp and reduce visibility.
Once you’ve prepped the walls, you’re ready to go. Not sure which order to paint a room? Our step-by-step guide will walk you through…

Start by moving or covering up any furniture with dust sheets, as well as the floor where you’re painting. Use masking tape around skirting boards, door frames, windows and light switches – any fixtures you don't want to be painted!

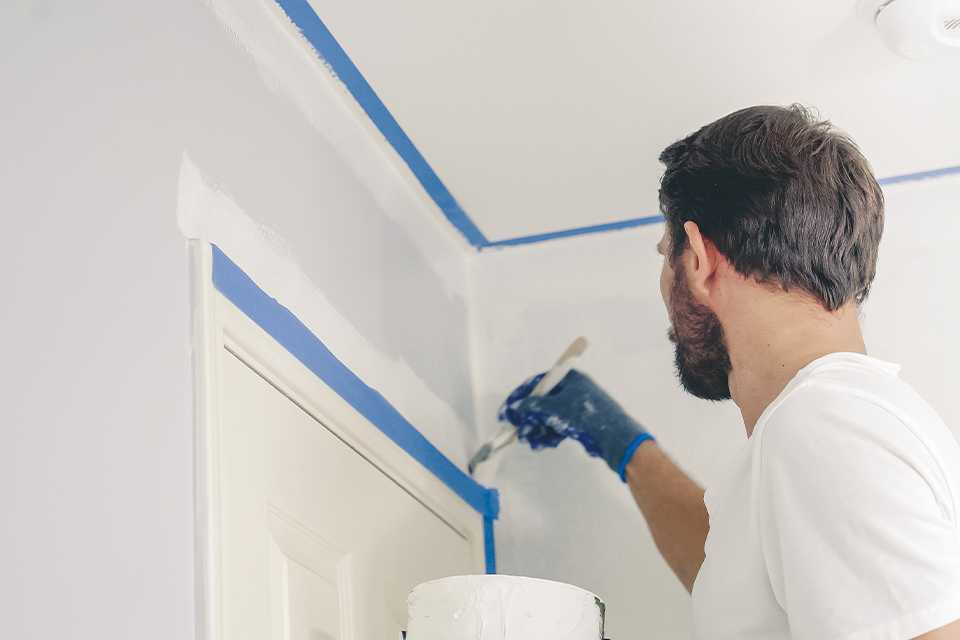
Grab a ladder (to reduce neck and arm ache), a paintbrush and roller. Paint a 2-inch border from where the wall meets the ceiling. Pick a corner and use a roller for larger areas. If you have artex ceiling, paint in different directions to ensure full coverage.
This helps achieve those crisp lines where walls meet, and rollers can’t quite reach. An angled brush is best to paint a 2-inch border around the edges of your walls. Don’t have too much paint on your brush and move smoothly from top to bottom.

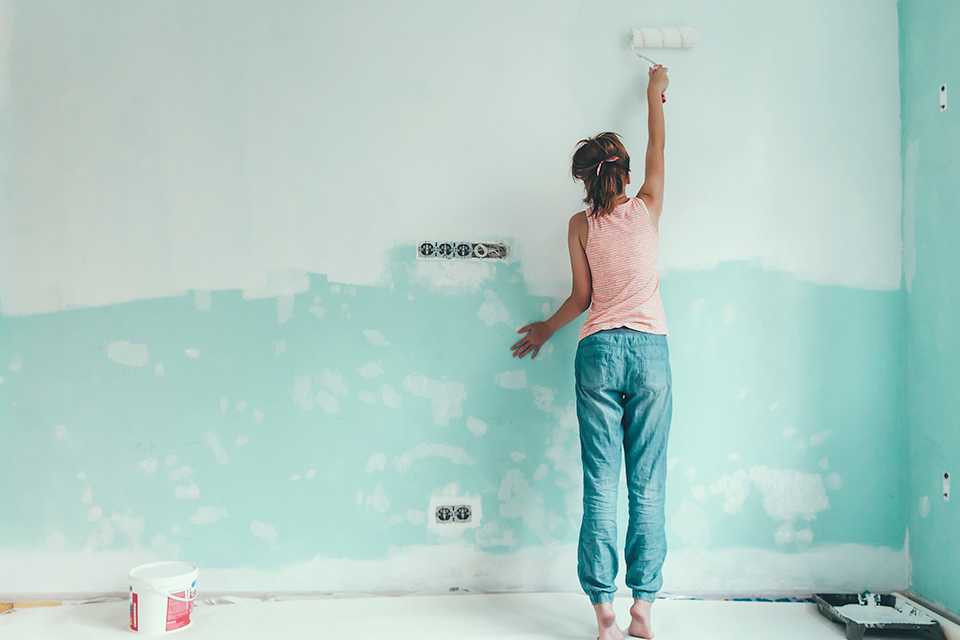
Ensure your walls are dry before you start. If you’re covering a strong colour, use a basecoat first. White emulsion paint is an option you can consider. Use a roller for an even finish and work from ceiling to floor. Paint in squares, overlapping them slightly to keep track of where you’ve painted.
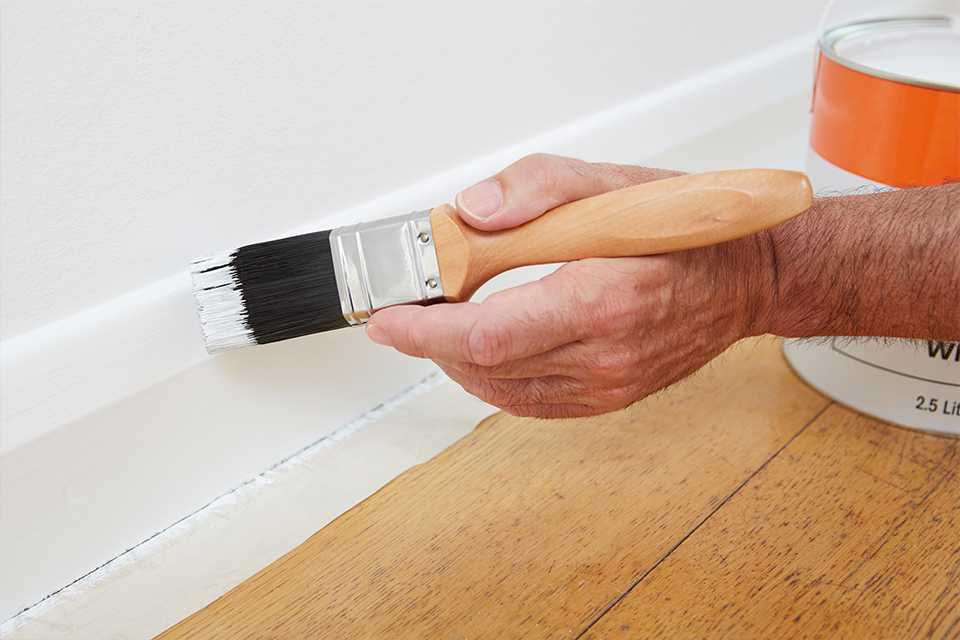
A white gloss or satin finish are popular choices for skirting boards as they hide imperfections, are easy to clean and give a shiny finish. With a narrow paint brush, apply small amounts of gloss and take smaller strokes for a cleaner look.
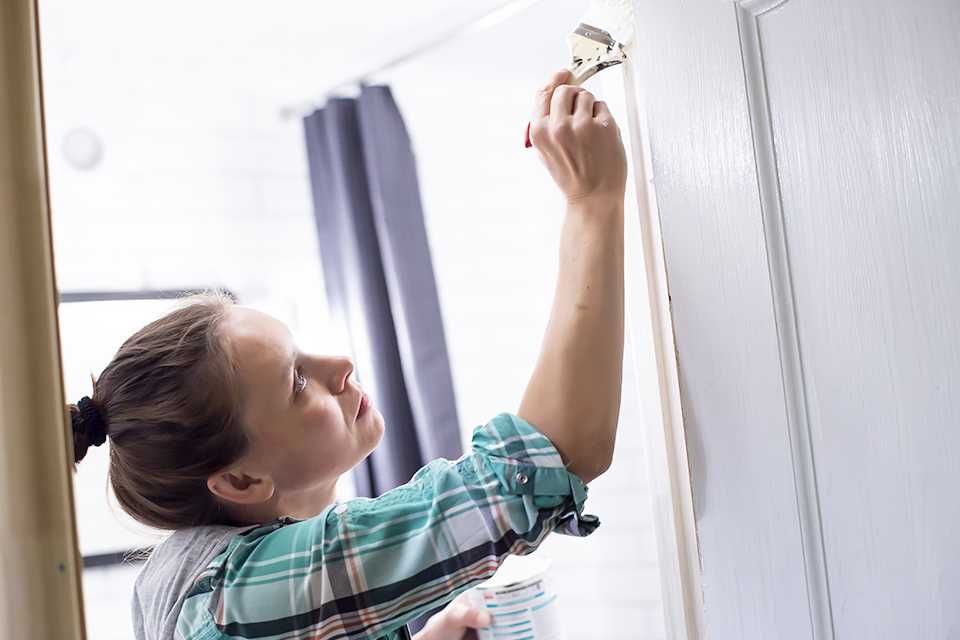
Again, use a smaller brush for these areas. For the main surface of the door, you can use a gloss roller. Paint from top to bottom, using minimal gloss and smaller strokes to avoid paint drops. Allow to dry fully before applying a second coat (if needed).
From preparing and measuring, to cutting and wallpapering around tricky fixtures. This quick 5 minute video, will show you how easy wallpapering can be.
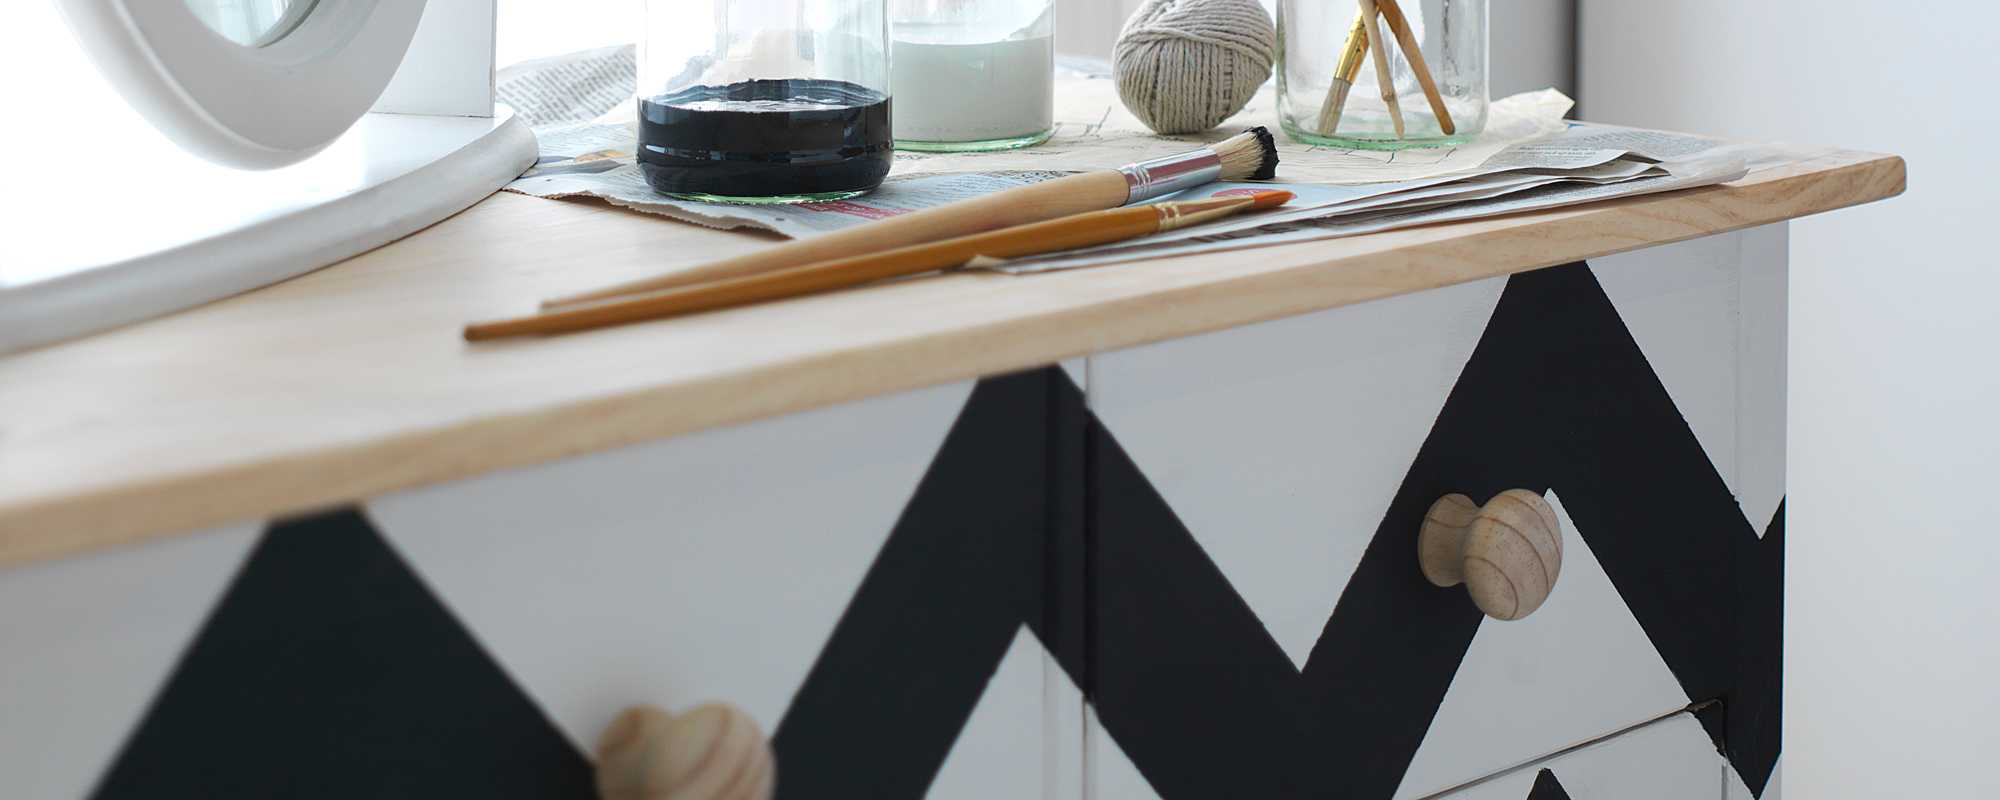
Probably the easiest entry route into upcycling as it doesn't require much equipment or DIY know-how, and can be tailored to your creativity and painting ability. Here're some simple step-by-steps and the tools to get you started...
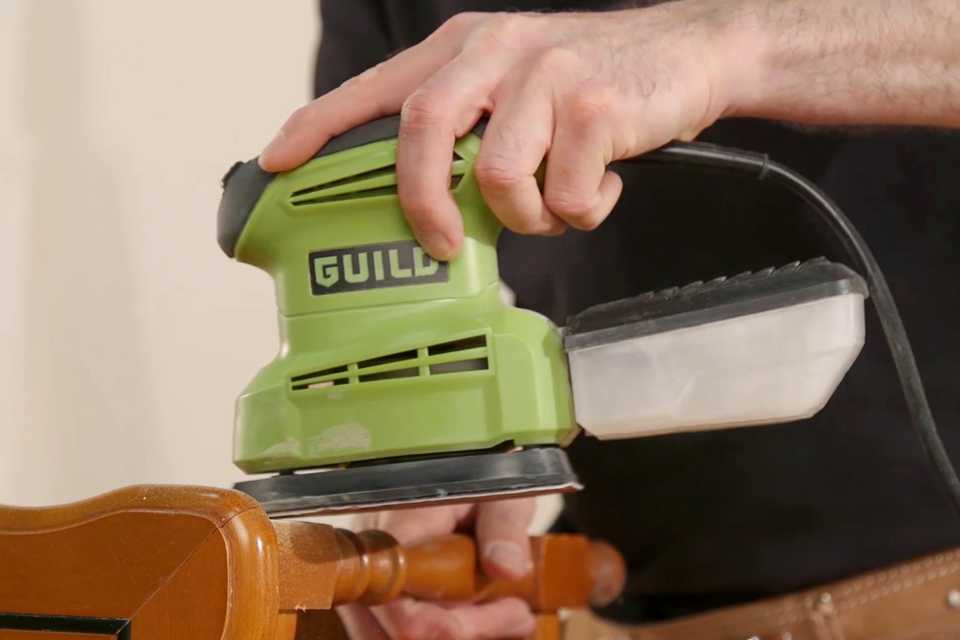
If you're working with wood use sandpaper or a sander to remove layers of paint, varnish or dirt and wipe down the surface. Chalk furniture paints don't usually require primer, but check the tin of the specific paint you're using before moving on.
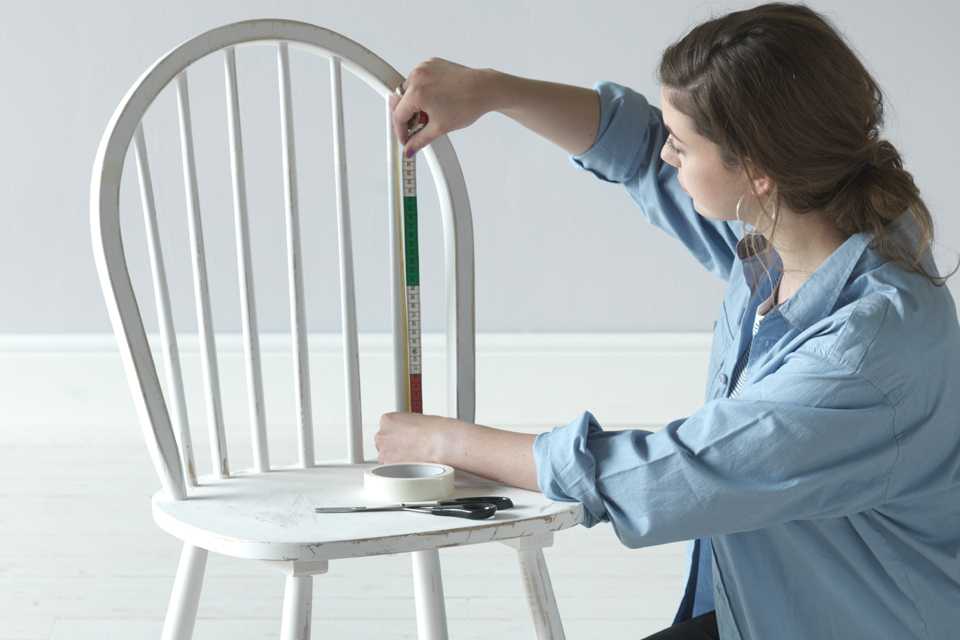
Use masking tape to cover areas that you don't want painted, or that you want filled with a different colour later - it's great for getting a sharp straight line. You could create a stencil or hand draw in pencil a more intricate design.
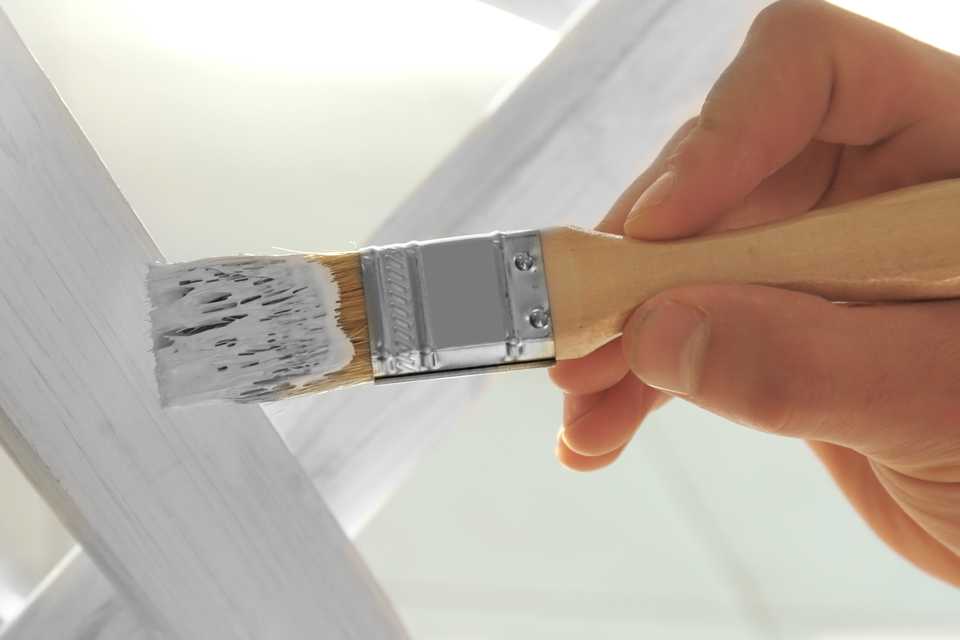
Paint onto your prepped piece with furniture paint and paint brushes. Keep your brush strokes in one direction, horizontal or vertical, for a smooth finish. Usually two coats is enough, but if you might need three if you are painting over dark woods.
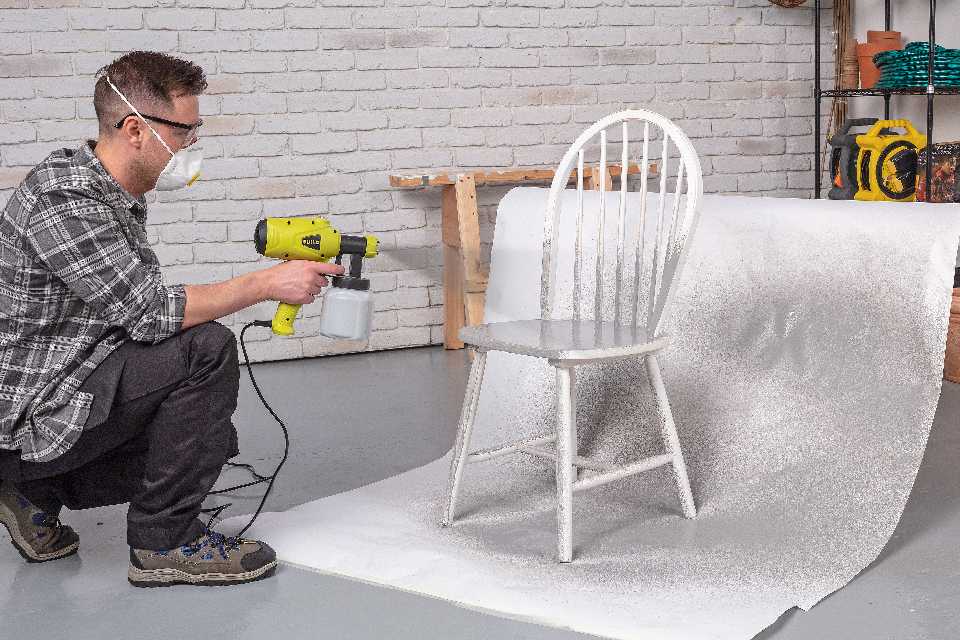
If you're working with larger furniture or just want a single block colour, a paint sprayer could be quicker and easier than a paint brush, and creates a really smooth finish. You'll need to protect the surrounding area with a dust sheet (or any old fabric sheet you have).


?$sfpoi:$sfcenter}&sm=aspect&aspect=2:1&sfcenter=center&sfpoi=poi&qlt=50&fmt=auto&noiser=0&fmt.jpeg.interlaced=true&fmt.jp2.qlt=40&w=600&)
?$sfpoi:$sfcenter}&sm=aspect&aspect=2:1&sfcenter=center&sfpoi=poi&qlt=50&fmt=auto&noiser=0&fmt.jpeg.interlaced=true&fmt.jp2.qlt=40&w=600&)
?$sfpoi:$sfcenter}&sm=aspect&aspect=2:1&sfcenter=center&sfpoi=poi&qlt=50&fmt=auto&noiser=0&fmt.jpeg.interlaced=true&fmt.jp2.qlt=40&w=600&)
?$sfpoi:$sfcenter}&sm=aspect&aspect=2:1&sfcenter=center&sfpoi=poi&qlt=50&fmt=auto&noiser=0&fmt.jpeg.interlaced=true&fmt.jp2.qlt=40&w=600&)